Well this Christmas break has been a bit rough. I have been battling "Grinch Flu" for a month, and Laurie, my wife has been in the battle for the past week. Therefore, the rebirth of the Star Trek Starter Set Rocket Upscale has gone a bit slower than I would have liked. That being said, I have made some progress to share. Therefore, let me show you where we are!
 |
| First, I decided to clean off all of the old epoxy off of the fins. Interestingly enough, the fins wouldn't go back into the slots due to all the old epoxy. It just shows how much force it took to knock them off... |
 |
| After using a Dremel grinder and a sharp Exacto knife, the fins looked much better. |
 |
| The knife came in handy for the old fillets as well. |
 |
| The Dremel cutoff wheel cleaned out the rest of the slots nicely. Once done, the fins slid in very easily. |
 |
| The next step was to get rid of the busted end of the tube. First, I used a piece of paper to draw a straight line around the tube with a razor Sharpie. |
 |
| Then I trimmed away the vinyl wrap above the line to serve as a cutting guide. |
 |
| The Dremel made short work of trimming the top off. |
 |
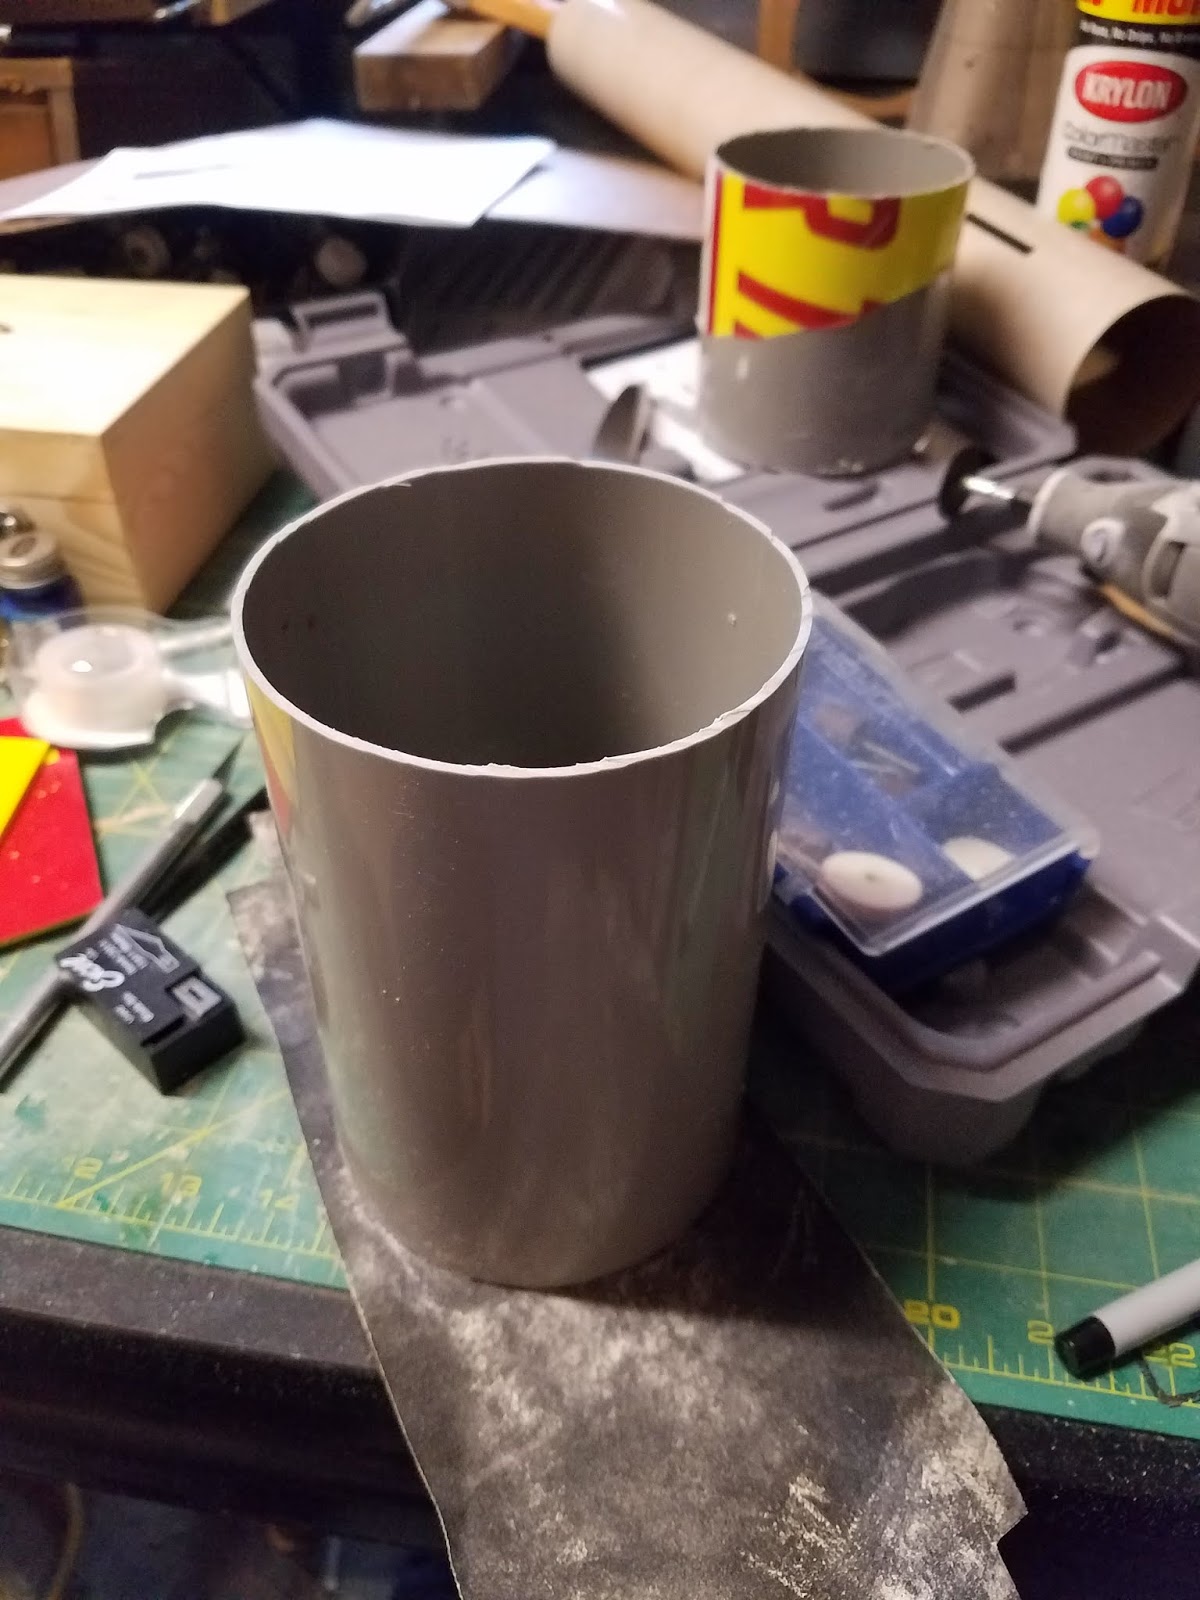
| Then I cut a length of replacement tube to the correct size. I got the tube from the undamaged section of the STSS rocket (version 1). |
 |
| I used another five inch section of tube, slit down the side and resized to fit inside the outside tube, as a coupler. Lots of epoxy involved here... |
 |
| Now it was time for...the wrap. |
 |
| Laurie helped me put on the original wrap, so I roped her into helping with the fix. The tricky part is that the original wrap is just slightly off (my fault, not Laurie's) so the extension had to be off in the exact same way to match. It took a long time and LOTS of patience, but Laurie did it! |
So that's where we are so far! Slap some fins on and spray a little paint and we are back in business!
Until next time, fly 'em fast and high!