About a year ago I picked up a Red Flare at a DARS meeting for a modest donation. This wasn't a new in the package kit, but rather the remains of someone's rocket. The nose was fine, the fin can was sort of fine, and the body tube was...well not really fine at all- for my purposes anyway.
You see, I wanted a Maxi Alpha III. The "ultra-sparkle" Red Flare tube was not going to cut it. As it turns out, the body tube and the fins had parted ways anyway, so that saved me the bother of taking the kit apart.
The fin can had a couple of issues. One, the sparkle wrap had peeled and damaged the surface of the body tube filler piece that fits between the top and bottom plastic rings (if you've ever built this unit, you know what I mean...If not, just trust me). The other issue comes from the design. On the original Alpha III, the body tube/fin can seam is at the very top of the fin. On this unit, it's 1/4 inch lower. So, I would need to address thst as well.
The fist thing I did was to order a new BT-80 (actually two, they came that way). The next thing I did was to contact Mark at Stickershock and get the 1970's decals for it. All of this was very reasonably priced, by the way. Then I actually started building. I took some pictures, so I'll use them to 'splain what I'm talking 'bout.
 |
| First, I needed to cover the damaged body tube on the fin can. I used CA glue to attach heavy paper over the damage. |
 |
| Next, I needed to "extend" the tube to the top of the fins. Wood glue and a donor tube (extra points for those that can identify the rocket...don't worry, the other BT-80 is going to fix that one) took care of the problem. |
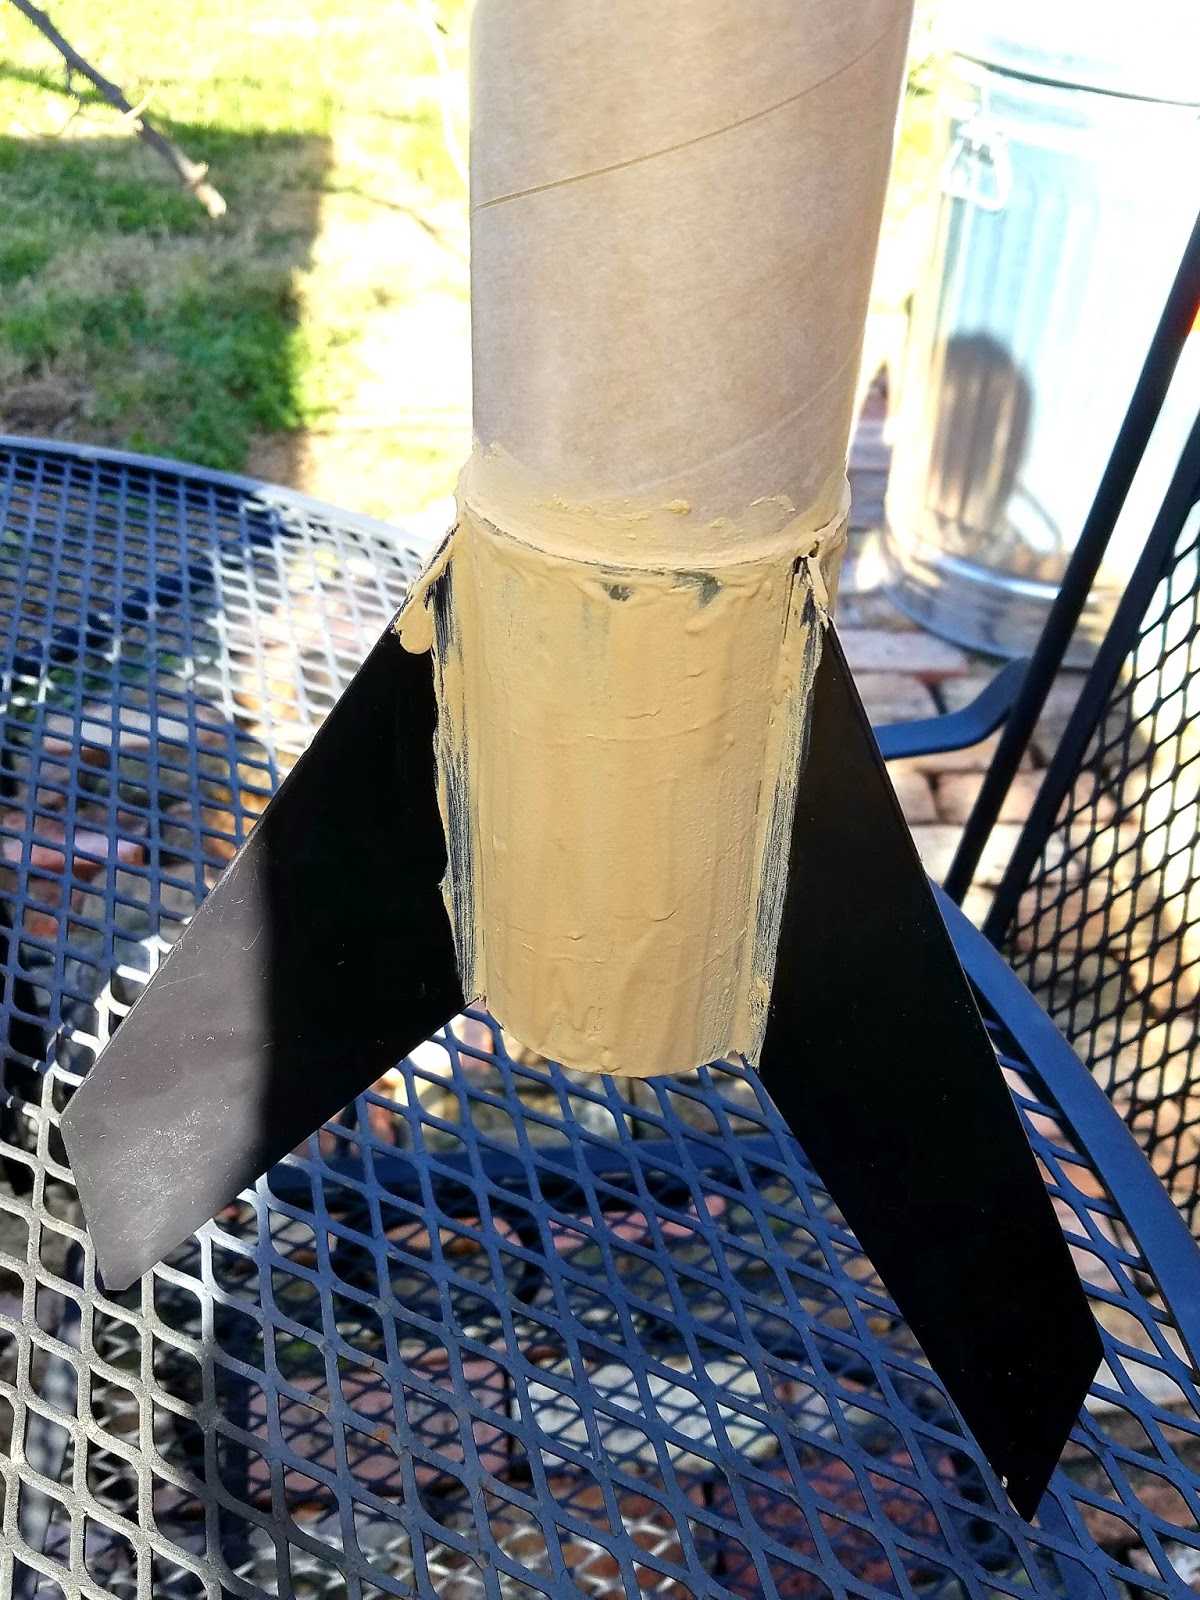 |
| Then I added LOTS of wood filler. I usually use Elmers, but this is DAP. I like it at least as well. |
 |
| Then I sanded, refilled, sanded, and refilled again. There is one slight difference from the original. On the original, the body tube was completely flush with the fin can. On mine, due to the extension, the fin can is 1/16 inch larger. I think it will look fine when it is painted. I also added a 1/16 inch stand off for my launch lug. |
And that's where we are going to leave off this time. It's been too cold to paint, so we'll have to wait a while to finish...Oh well...
Until next time, fly 'em fast and high!
No comments:
Post a Comment