The year was 1976. The Bicentennial was in full swing, and disco, unfortunately, wasn't dead yet. In a small field next to the First Baptist Church of Caddo Mills, a small, sleek, yellow rocket waited for a button to be pushed to send it streaking into the clear Texas sky. Such times are seared into my memory.
I remember this occasion so well because it was the first flight of my Estes Star Trek Starter Kit Rocket (a mouthful any day of the week). My grandfather had retired as a full time pastor, but had accepted an interim position at FBCCM. He and the rest of my family were impressed with the little rocket screaming off the pad. It was a good day to be a 13 year old.
Years later, I began to get into the "upscale" trend for model rockets. Since we were bigger, it seemed natural to want to build our favorite kits bigger too. I did a few, and really enjoyed them...but then I had a crazy idea. Why not upscale the Star Trek Starter rocket? It's a very simple design. The only hard part would be the decals! So, in 2009, I started my quest.
It turned out to be a harder quest than I thought. You see, the kit was only made for three years (1976-1978) and I needed a high resolution scan of an unused sticker sheet. Hard to come by is an understatement! Over the years I saw one or two come up on eBay, but they always went for big bucks. As the years went by, the dream faded.
Then, earlier this year, I joined the National Association of Rocketry Facebook page. I don't know why I didn't think of it earlier, but I didn't. I put out another call for the decal sheet...and got some nibbles!
It was at this point that I started emailing back and forth with Mark Hayes of Stickershock decals. Mark is a really nice and helpful guy who assured me that if I could get the scan, he could make the stickers! He suggested a four inch diameter model, and I quickly agreed. Now I had a scale...a place to get the decals...but still no high resolution scan.
Then Leo Nutz responded on Facebook and sent me a scan. I sent it to Mark and he emailed back all excited...it was "game on!"; we had our scan!!! Thanks again, Leo!!! I got the dimension for the fin can from "5X7" on the Ye Old Rocket Forum. I'm not sure who "5X7" is, but thanks, man! I couldn't have built her without you!
I had some Public Missiles Ltd. parts in the correct size, so I combined those with a body tube ordered especially for this project. The folks at PML were very helpful as well, and soon I had all of the parts for my dream to come true! Here are the pictures...
 |
| The 54-38-29mm motor mounts going together. This bird is designed to fly with just about anything! |
 |
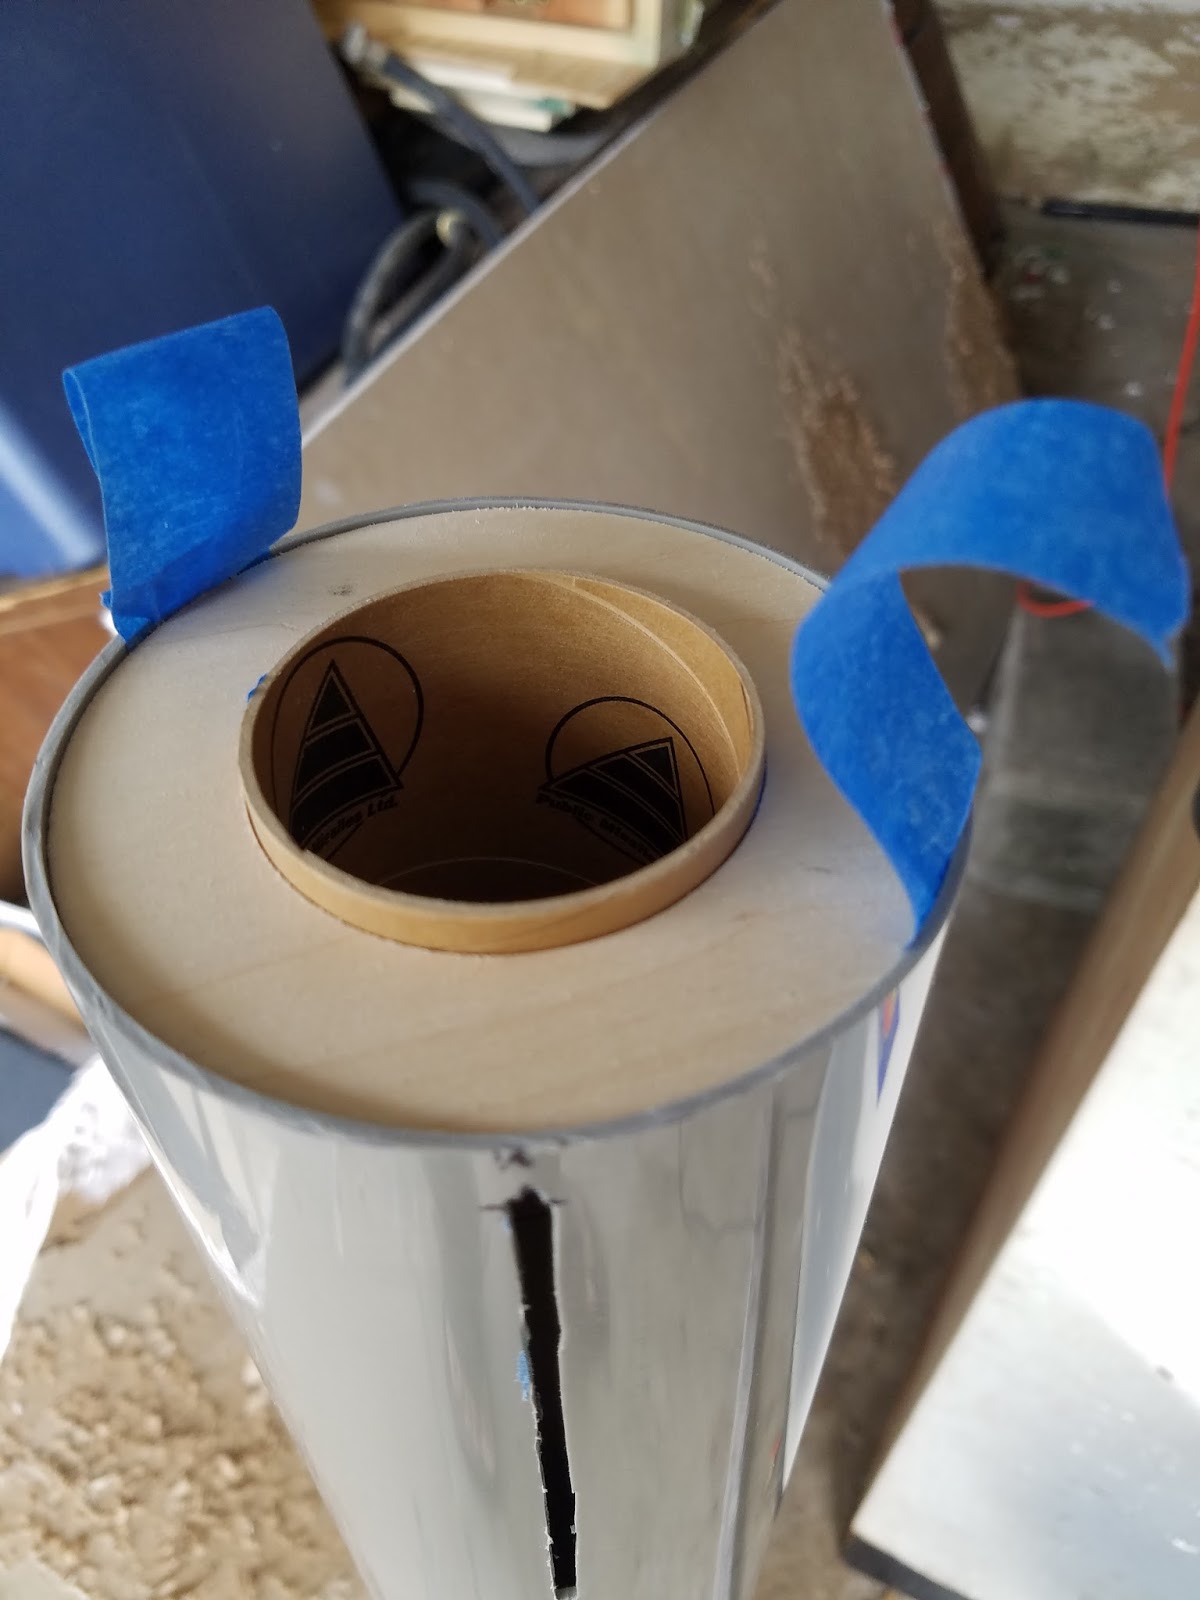
| Cutting the fin slots was easier than I thought it would be. The Quantum tube was easy to work with (my new Dremel helped!) |
 |
| Lots o' epoxy on the shock cord mount....check! |
 |
| Prefitting everything together... |
 |
| Adding the fillets...Inside and outside... |
 |
| I went "old school" with the motor retainer... |
 |
| There wasn't much to paint, thanks to Mark's stickers! |
 |
| And after about an hour of shear terror...The stickers are on! I wish I hadn't wrinkled the wrap in a couple of places, but I was able to straighen it out pretty well. More than a couple of feet away and you can't really see it. The stickers were, overall, very forgiving and look great! |
 |
| The other side. Hey, look! It's Captain Kirk! |
 |
| Here is the original from the Estes catalog! |
 |
| One more for the road! She stands a hair over 60 inches tall, which is enough to be pretty impressive, I think! |
So there you have it! I just have to add the rail guides and she's ready for flight! Hopefully soon she'll be screaming into the Texas sky just like her little pappy did all those years ago!
Until next time, fly 'em fast and high!


Awesome job, Stu! Can't wait to see it fly!
ReplyDeleteThanks! Hopefully soon!
DeleteFantastic!
ReplyDeletePost when she had her first flight :-)
Will do! Thanks again, Leo!
Delete